Who Will Hindenburg Target Next? The US Short Seller Hints at Another Big India Reveal
August 11, 2024
10 Best Eye Hospitals in Mumbai: Top Eye Care Centers for Your Vision Needs
August 11, 2024
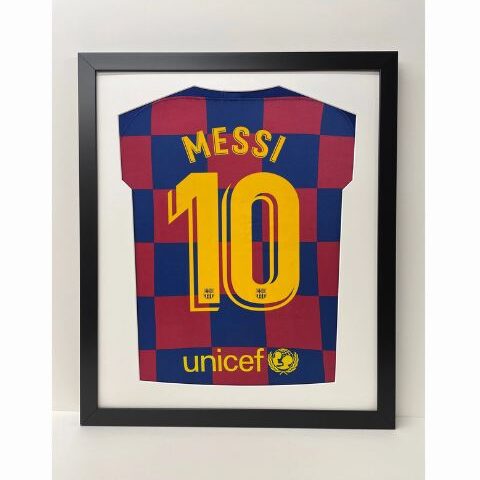
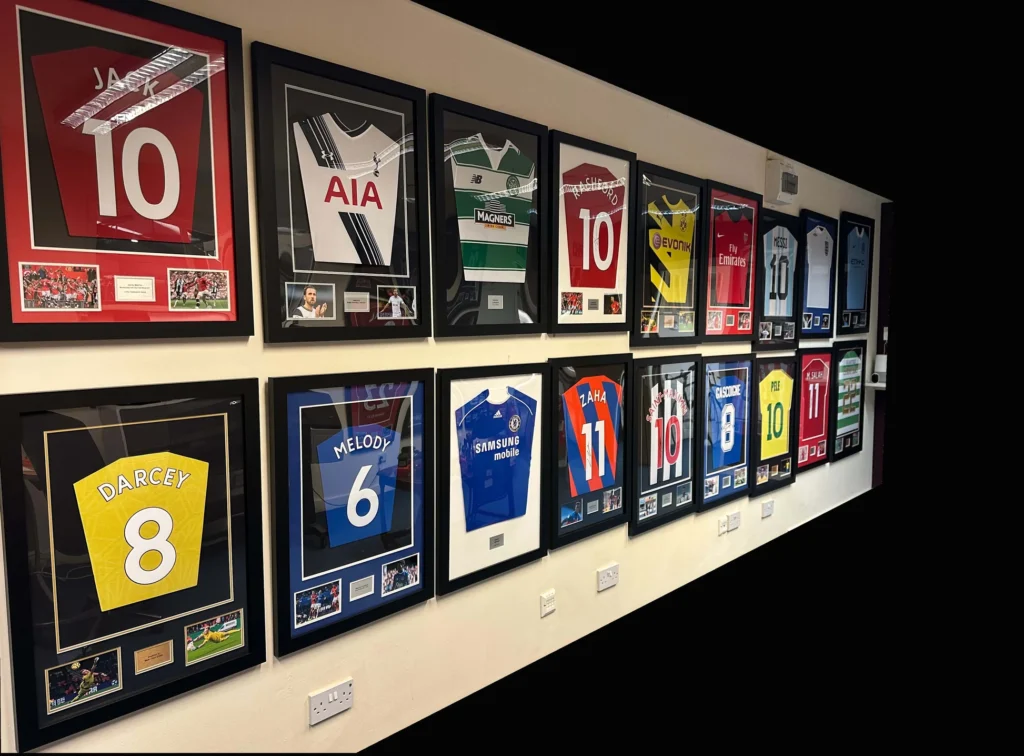
Framing a football shirt is not only a great way to showcase your love for the sport, but it also serves as a unique piece of decor for your home or office. Whether it’s a signed jersey from your favorite player or a shirt commemorating a special match, framing it properly ensures it stays in pristine condition. In this guide, we’ll walk you through the process of framing a football shirt, ensuring it looks professional and lasts for years.
Why Frame a Football Shirt?
Before diving into the steps, it’s essential to understand why framing a football shirt is a good idea. Football shirts, especially those that are signed or worn during memorable matches, hold significant sentimental and monetary value. Proper framing protects the fabric from damage, such as fading or fraying, while allowing you to display your prized possession proudly.
Materials You’ll Need
Before starting, gather the necessary materials to ensure a smooth framing process. Here’s a list of what you’ll need:
- Football Shirt: The shirt you wish to frame.
- Frame: A shadow box frame or deep frame that can accommodate the shirt without pressing it against the glass.
- Acid-Free Backing Board: Prevents the shirt from deteriorating over time.
- Mounting Board or Foam Core: To attach the shirt securely.
- Needle and Thread or Adhesive Strips: For securing the shirt to the mounting board.
- Glass or Acrylic Cover: Protects the shirt from dust and UV rays.
Also Check: Richest Football Clubs in The World
Step 1: Choose the Right Frame
The first step in framing a football shirt is choosing the right frame. A shadow box frame is ideal because it offers enough depth to accommodate the bulk of the shirt without pressing it against the glass. Ensure that the frame is sturdy and has a UV-protective glass or acrylic cover to prevent the shirt from fading.
Step 2: Prepare the Shirt
Before framing, ensure the shirt is clean and free of wrinkles. If the shirt is valuable or signed, avoid washing it to prevent damage. Instead, gently press it with a cool iron if necessary, using a cloth between the iron and the shirt to avoid direct heat contact.
Step 3: Position the Shirt
Once the shirt is prepared, it’s time to position it on the backing board. Lay the shirt flat on a clean surface and arrange it in the desired position. You may choose to display the front or back of the shirt, depending on what you want to highlight (e.g., the player’s name or a team logo).
To create a neat and professional appearance, fold the sleeves inward, making sure they are even. You can use adhesive strips to hold the sleeves in place temporarily. If the shirt has a collar, adjust it so that it lies flat.
Step 4: Attach the Shirt to the Mounting Board
To secure the shirt to the mounting board, you have two options: sewing or using adhesive strips. Sewing is a more secure method, but it requires some skill. If you choose to sew, use a needle and thread that matches the color of the shirt and make small, discreet stitches in inconspicuous areas.
If you prefer not to sew, use acid-free adhesive strips to attach the shirt to the mounting board. Place the strips along the edges and behind the folds to keep the shirt in place without damaging the fabric.
Step 5: Assemble the Frame
With the shirt securely attached to the mounting board, it’s time to assemble the frame. Place the backing board with the mounted shirt into the frame, ensuring it fits snugly. Be careful not to shift the shirt’s position during this step.
Once the backing board is in place, close the frame and secure it with the provided fasteners. Ensure the glass or acrylic cover is clean and free of smudges before sealing the frame.
Step 6: Display Your Framed Football Shirt
Now that your football shirt is framed, it’s ready to be displayed! Choose a location that’s out of direct sunlight to prevent fading. Consider hanging the frame at eye level to make it the focal point of the room.
Maintenance Tips
To keep your framed football shirt looking its best, follow these maintenance tips:
- Avoid Direct Sunlight: Exposure to sunlight can cause the colors to fade over time.
- Regular Dusting: Gently dust the frame and glass regularly to keep it clean.
- Check for Moisture: Ensure the frame is kept in a dry area to prevent moisture from seeping in and damaging the shirt.
Conclusion
Framing a football shirt is a fantastic way to preserve and showcase a piece of sporting history. By following these steps, you can create a professional-looking display that protects your cherished shirt for years to come. Whether it’s a signed jersey or a shirt from a memorable match, framing it allows you to relive those moments every time you see it on your wall.


